
Last updated November 15, 2026
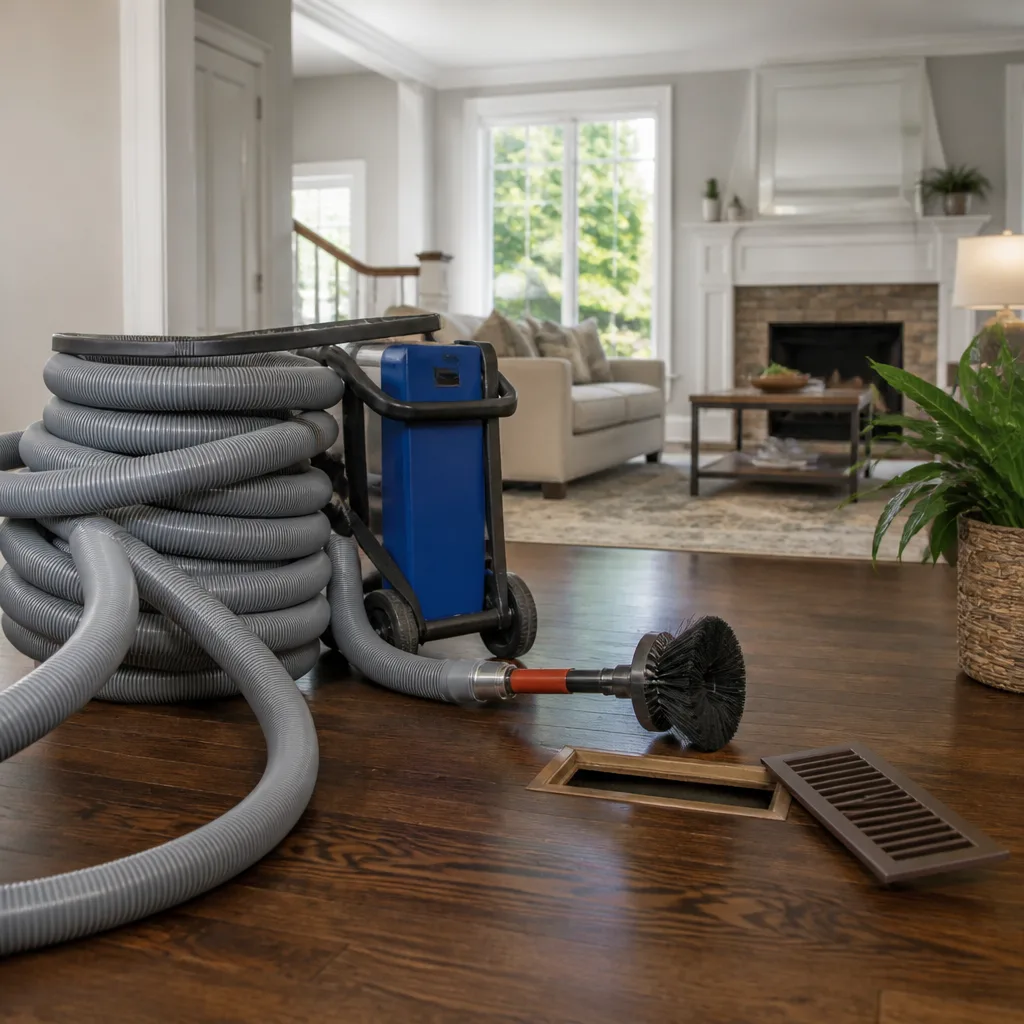 Whole-home duct cleaning
 Dryer vent cleaning
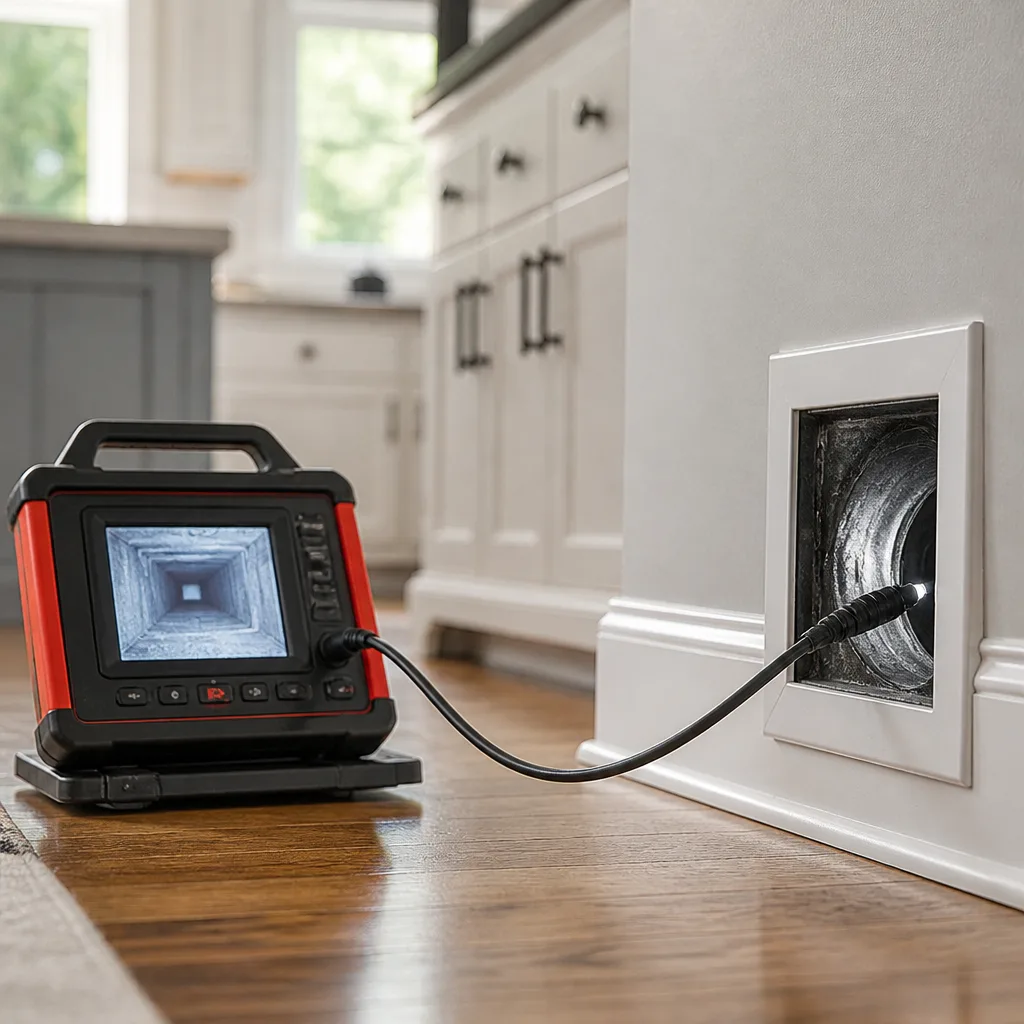 Camera inspection
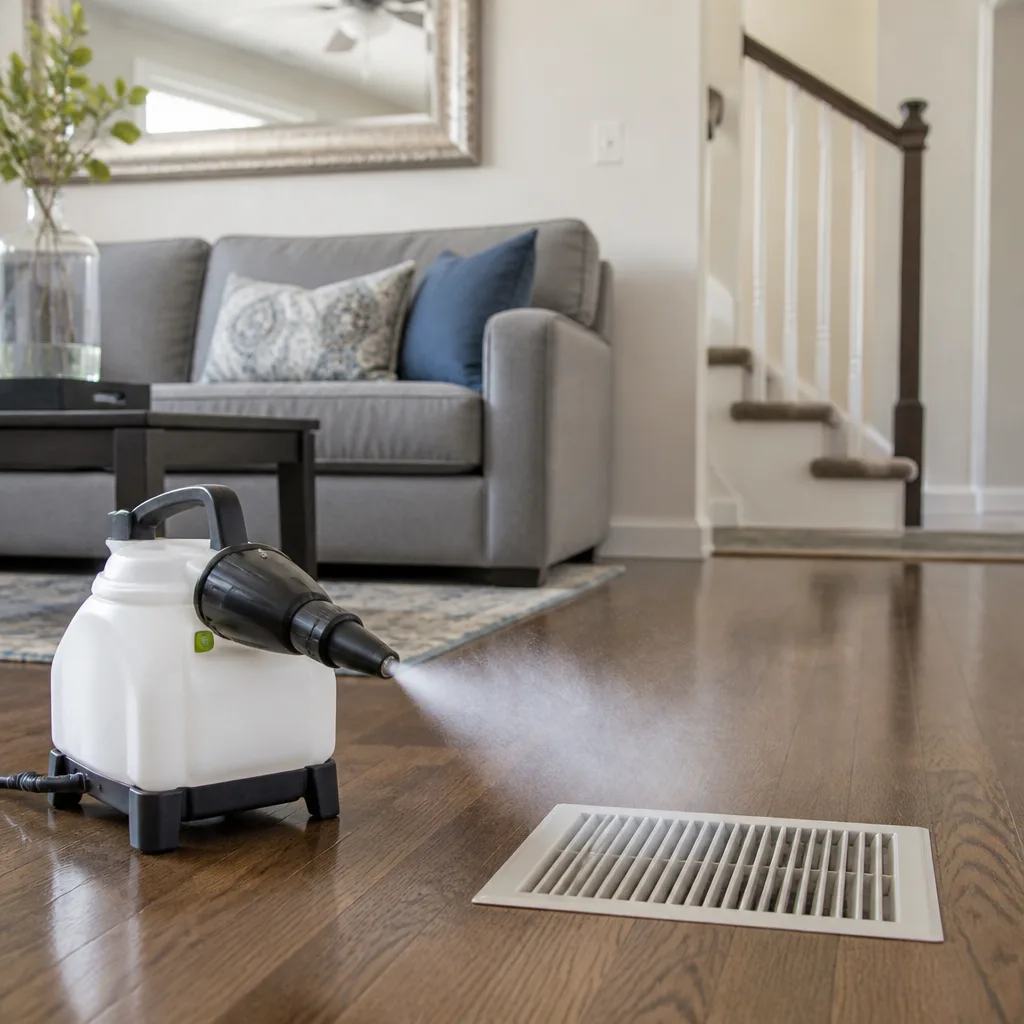 Sanitizing & deodorizing
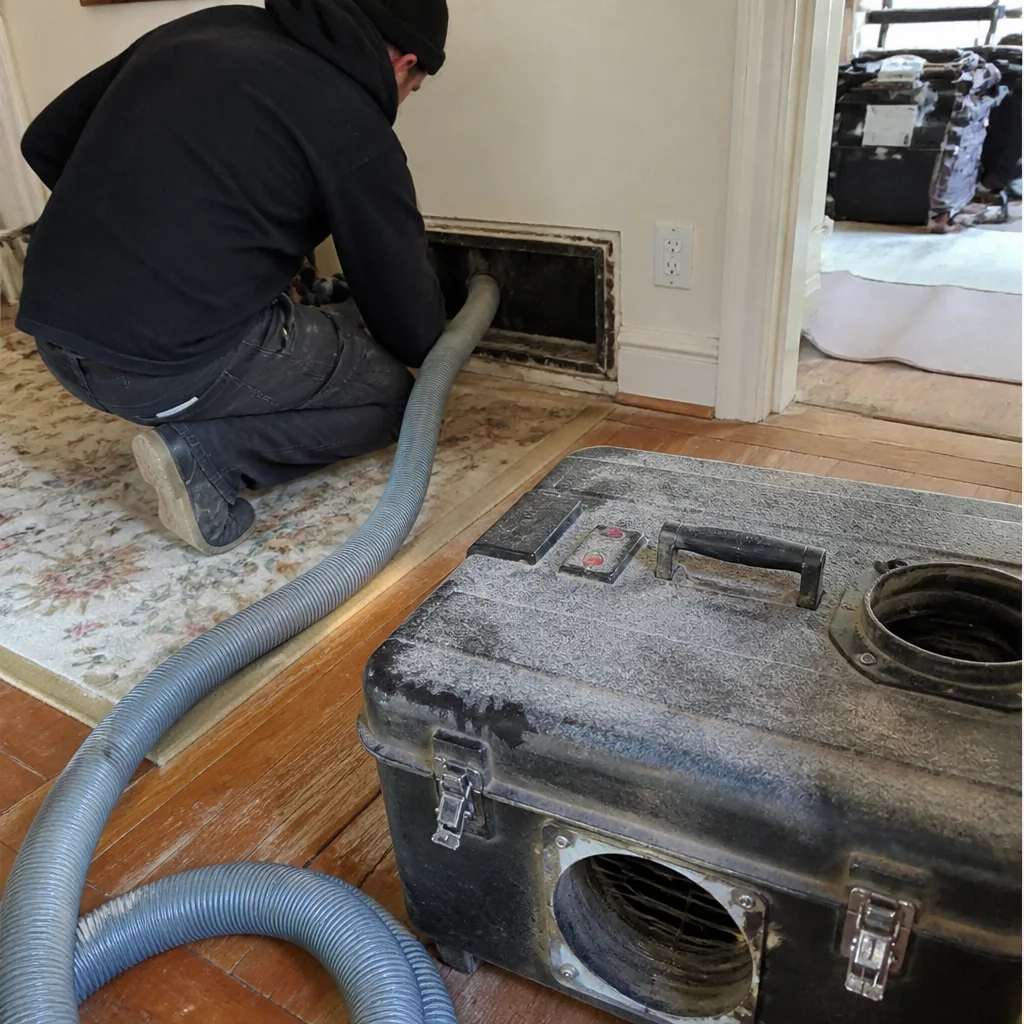
Whole-system duct and dryer vent check with before-and-after photos - you see exactly what came out of your vents
That "$99 whole-house special" is a bait ad - the real number appears once they are in your hallway, or the "clean" is a shop-vac at the register. We photograph the inside of your ducts before and after instead.
Air Duct Cleaning Maintenance Checklist for Santa Rosa Homeowners
The most skipped item on nearly every DIY duct checklist is the one that costs you the most: checking flex duct for sag and kink at the support hangers. A duct that sags between straps narrows at the bend, and a narrowed duct moves less air. Your system compensates by running longer to reach the thermostat setpoint. In our experience walking Santa Rosa attics, a crushed flex run buried under insulation is common and quiet. It doesn’t rattle. It doesn’t smell. It just makes your HVAC work harder than it should.
This guide treats duct maintenance the way a technician treats a pre-inspection walkthrough. You’ll learn a tool-free register protocol, how to time filter changes to Sonoma County’s two very different seasons, how to spot a disconnected run from the attic hatch, and how to tell a blocked return from a dirty duct before you pay anyone to clean anything.
Quick Answer
A practical air duct maintenance checklist for Santa Rosa homes covers five things: register and return inspections you can do without tools, filter changes timed to fire season (June through October) and the wet season, a visual check of accessible attic duct runs, a return-air pathway audit, and a clear decision about when a condition calls for cleaning versus duct repair. Most homes in Santa Rosa need a filter change every one to three months depending on season and occupants, a full visual register walkthrough twice a year, and a professional duct assessment when debris, rattling, or uneven airflow points to a problem inside the system rather than at the vent.
Styles & brands we work with
- Whole-home duct cleaning
- Dryer vent cleaning
- Camera inspection
- Sanitizing & deodorizing
Table of Contents
- The Room-by-Room Register Inspection Protocol
- Filter-Change Timing for Santa Rosa’s Two Seasons
- How to Check Accessible Attic Duct Runs Without Entering Confined Spaces
- The Return Air Pathway Audit
- What Debris Color and Texture Tell You About Contamination Type
- Clean, Repair, or Replace: Reading the Checklist Results
- The Dryer Vent: The Checklist Item Most Homeowners Forget
- A Year-Round Maintenance Calendar for Sonoma County Homes
The Room-by-Room Register Inspection Protocol
You can inspect every supply register in your home without a screwdriver, a ladder, or any special knowledge. The protocol is simple, but the order matters because it teaches you how your system behaves room to room. Work through the house once with the system running on fan only (no heat, no cooling) and note what you find at each register.
- Start at the register farthest from the air handler. This is where airflow weakness shows up first. Hold the back of your hand a few inches from the grille. You should feel steady, even air. Weak or intermittent flow here usually means a problem upstream, not at this vent.
- Look at the grille face and the fins behind it. A fine gray dust film is normal between cleanings. A matted, felt-like layer means air has been carrying lint and fiber for a long time.
- Check the floor or sill directly below and behind the register. Dark smudges on light flooring, or a line of dust on the baseboard, point to air escaping around the boot rather than traveling through the duct.
- Listen for rattle and whistle. A whistle is a pressure problem. A rattle at one register but not others often points to a loose connection at the boot or a fluttering damper.
- Compare rooms. Two bedrooms on the same trunk should feel similar. When one is noticeably weaker, the difference is the finding, not the vent itself.
- Check every return grille last. Returns pull harder than supplies, and their condition tells a different story (see the return air audit below).
Do this twice a year, and note which registers are weakest. A pattern you can describe is worth more to a technician than a general feeling that the house “doesn’t heat evenly.” Homes in Santa Rosa’s older central neighborhoods often have a mix of original trunk lines and later branch runs added during remodels, and that history shows up as airflow differences from room to room. Our technicians have up to 14 years of experience reading exactly these patterns.
Filter-Change Timing for Santa Rosa’s Two Seasons
Generic advice says change your filter every three months. Santa Rosa’s year doesn’t work that way. You have a dry, smoky stretch from June through October when fine particulate load on a filter climbs fast, and a wet, mild stretch through the winter and spring when filters mostly catch ordinary household dust and pet hair. Calibrating to those two seasons does more for indoor air quality than any fixed calendar.
The fire season stretch (June through October)
During this window, wildfire smoke and dry airborne dust load filters quickly, and a clogged filter chokes airflow through the whole system. Check your filter monthly from June through October. Replace it when the face is visibly gray-brown, or when a light tap releases a dust cloud. If you run the system on fan-only during smoky days to keep air moving through filtration, check even more often. Homes running a higher-MERV filter will load faster than homes running basic pleated filters during this stretch.
The wet season stretch (November through May)
With smoke off the table, filters mostly collect lint, skin cells, and pet dander. Two to three months per filter is a reasonable rhythm. Watch the filter after any stretch of heavy indoor activity, and note that homes with pets or occupants with allergies tend to need the shorter end of that range. Whatever your season, write the change date on the filter edge in marker. It’s the simplest way to stop guessing.
If your household air quality still feels off after consistent filter changes, that’s the point to look at the system itself rather than the filter slot. A filter can only catch what reaches it, and a duct problem upstream of the filter can’t be fixed by changing filters more often. This is where air duct cleaning and a duct inspection differ from a filter-only routine, and why we treat filter timing and duct condition as two separate checklist items.
How to Check Accessible Attic Duct Runs Without Entering Confined Spaces
You don’t need to crawl through an attic to learn a lot about what’s up there. From the access hatch, with a bright flashlight, you can see the first several feet of duct runs in most Santa Rosa homes. Use a stable ladder, keep both feet on it, don’t step off onto joists, and stop if anything about the space feels unsafe. That’s it: look, don’t enter.
Here’s what to look for with the light:
- Sag between hangers. Flex duct should run nearly straight between supports. A visible dip or bow in the run means it’s collapsing under its own weight, which narrows the air path.
- Kinks at bends. A flex duct bent too sharply pinches like a garden hose. Look for sharp elbows rather than smooth sweeps, especially where a branch leaves the main trunk.
- Disconnected sections. Look for a gap where two pieces should meet, or a takeoff sitting an inch off its collar. A disconnected run dumps conditioned air into the attic instead of the room.
- Crushed or flattened runs. Duct laid over by other material, or compressed under insulation, moves almost no air.
- Compression at straps. The opposite of sag: a strap pulled so tight it pinches the duct narrower than its rated diameter.
If a run looks disconnected, compressed, or kinked, that’s a repair-first finding. Cleaning a duct that isn’t connected to its register accomplishes nothing useful. Our duct cleaning Santa Rosa work begins with exactly this kind of walkthrough so we know whether we’re cleaning a working system or diagnosing a broken one before any equipment comes out of the case.
The Return Air Pathway Audit
We can’t count the number of times a customer has paid for duct cleaning to solve poor airflow, only to find the real problem in the return path. A return air pathway that’s blocked doesn’t just starve the system of air; it creates a pressure imbalance that mimics the symptoms of dirty ducts. Weak supply flow. Uneven cooling. A system that runs long and never quite catches up. Before you call anyone about dirty ducts, run this audit.
How to tell a blocked return from a dirty duct
- Find every return grille in the house. Most homes have one large central return, sometimes with smaller returns in bedrooms or hallways.
- Check whether anything sits in front of a return. Furniture pushed tight against a return, a rug over a floor grille, a closet door closed over a return, or an oversized piece of recently added cabinetry can all choke the return path. This is the single most common misdiagnosis we see in Santa Rosa homes.
- Feel the pull at each return with the fan running. A strong, even pull is a healthy return. A weak or barely noticeable pull at one return while others feel normal suggests an obstruction in that path.
- Look at the return filter or grille face. A return grille so loaded with dust you can’t see through it is restricting airflow directly, separate from the condition of the ducts behind it.
- Compare supply and return flow. If supplies feel weak everywhere and returns feel weak too, you likely have a return restriction or a system sizing issue. If supplies are weak but returns pull hard, the problem is more likely in the duct runs than in the return path.
What do you do with the results? If clearing furniture or a rug away from a return solves the airflow problem, you’ve just avoided an unnecessary cleaning bill. If the return path is clear and the supply side still feels weak, the next step is the attic run check above and a call for a professional assessment. When we do reach the point of cleaning, we use Rotobrush contact-vacuum brush systems that physically contact the duct walls rather than just pulling air past them, plus Abatement Technologies negative-air machines to keep the work area contained the way a remediation job would be. That’s how you tell whether the return problem is airflow or duct contamination: fix the airflow obstruction first, then assess the ducts.
What Debris Color and Texture Tell You About Contamination Type
When you look inside a register or wipe the base of a return grille, the debris itself tells you what kind of contamination you’re dealing with. Color and texture are diagnostic. In Santa Rosa, the two dominant signals are wildfire and dry-season dust from the summer, and lint, fiber, and organic material from the wet season.
- Fine gray-brown dust, powdery, easily brushed away. Normal airborne dust and particulate. This accumulates slowly and is the easiest kind to manage with regular filter changes.
- Black or dark gray soot, slightly greasy, smudges when wiped. Characteristic of smoke exposure. After a heavy smoke season, this coats duct interiors and filters faster than ordinary dust. It’s the reason we push filter checks during fire season and clean duct runs when soot load gets ahead of the filter.
- Pale yellow or tan, fibrous, stringy. Usually lint and fiberglass from insulation or duct material itself. Fibrous debris can point to degradation in flex duct interior lining and warrants a closer look.
- White or light gray crusty deposits near a register or on the air handler side. Often mineral or moisture-related residue. Worth flagging to a technician rather than trying to identify on your own.
- Dry grass clippings, fine soil, or seeds. Common where outdoor air enters through an unfiltered return or an intake. Not a health concern in itself but signals an entry point worth sealing.
- Pet hair matted against a grille or boot. Straightforward mechanical loading. It needs physical removal, not air movement, which is exactly the job for a contact-vacuum system.
The texture question matters as much as the color. Freshly deposited debris brushes away easily. Compacted, sticky, or matted debris has been there long enough to bond to the duct surface, and that’s the debris that won’t come loose with air alone. It needs a rotating brush in contact with the wall. Nikro HEPA-rated filtration captures what gets loosened rather than recirculating it into the living space, which is the difference between a real cleaning and a dust event.
Clean, Repair, or Replace: Reading the Checklist Results
The hardest judgment call isn’t spotting a problem. It’s deciding what sort of problem it is. Here’s how to sort your checklist findings into four buckets.
Cleaning is the answer when the ducts themselves are sound but loaded: visible debris accumulation throughout the register walkthrough, matted pet hair at multiple returns, heavy soot after smoke season, or a system that runs fine but hasn’t had a full duct cleaning in years and the air feels stale.
Repair comes first when the run itself is broken: sag, kink, compression, disconnection, or a collapsed section. Cleaning a compromised duct just deposits a fresh layer of dust behind a break. Duct repair should always precede duct cleaning on the same run. This is why we offer duct repair as its own service rather than folding it into cleaning. Diagnosing a compromised run is a different skill and a different set of tools than cleaning a healthy one, and a company that only cleans will clean around a problem it can’t fix.
A professional assessment before either when you see crusty or moisture-related deposits, a musty smell that doesn’t clear with filter changes, or debris color that points to something beyond ordinary dust and soot.
Replacement of a component when a section of duct is beyond saving. A crushed, contaminated run that can’t be cleaned back to a sound state is a repair-and-replace decision, not a cleaning decision, and it’s part of what an honest assessment sorts out before any work is quoted.
If you’re also looking at whole-home air quality upgrades, systems like Aprilaire and Honeywell filtration and humidification components integrate with existing forced-air setups, so the conversation about duct condition and the conversation about air quality fit together. That’s a question for a technician who works with both, not a decision you need to make alone.
The Dryer Vent: The Checklist Item Most Homeowners Forget
A duct maintenance checklist that stops at the HVAC system is an incomplete checklist. Your dryer vent is part of your home’s forced-air infrastructure and carries a real fire risk when lint accumulates inside the vent run. Many duct cleaning companies skip dryer vent service or outsource it, leaving a genuine safety issue unaddressed. We treat dryer vent cleaning as one of our three core services, not an add-on.
How to check your dryer vent without tools
- Check the outside vent flap. With the dryer running, the exterior flap should lift easily and air should move strongly. A flap that barely moves or flutters weakly suggests a restriction.
- Feel the exhaust air outside. Strong, warm, and steady is healthy. Weak or slow means lint buildup somewhere in the run.
- Check the transition duct behind the dryer. Flexible foil or plastic transition duct that’s crushed, kinked, or sagging is a common restriction. Smooth, rigid metal transition duct is the better setup.
- Look at the lint screen and lint trap opening. Torn screens and lint escaping around the trap are early signs of trouble.
- Note how long a load takes to dry. Clothes that take noticeably longer to dry than they used to, without another explanation, are a signal worth acting on.
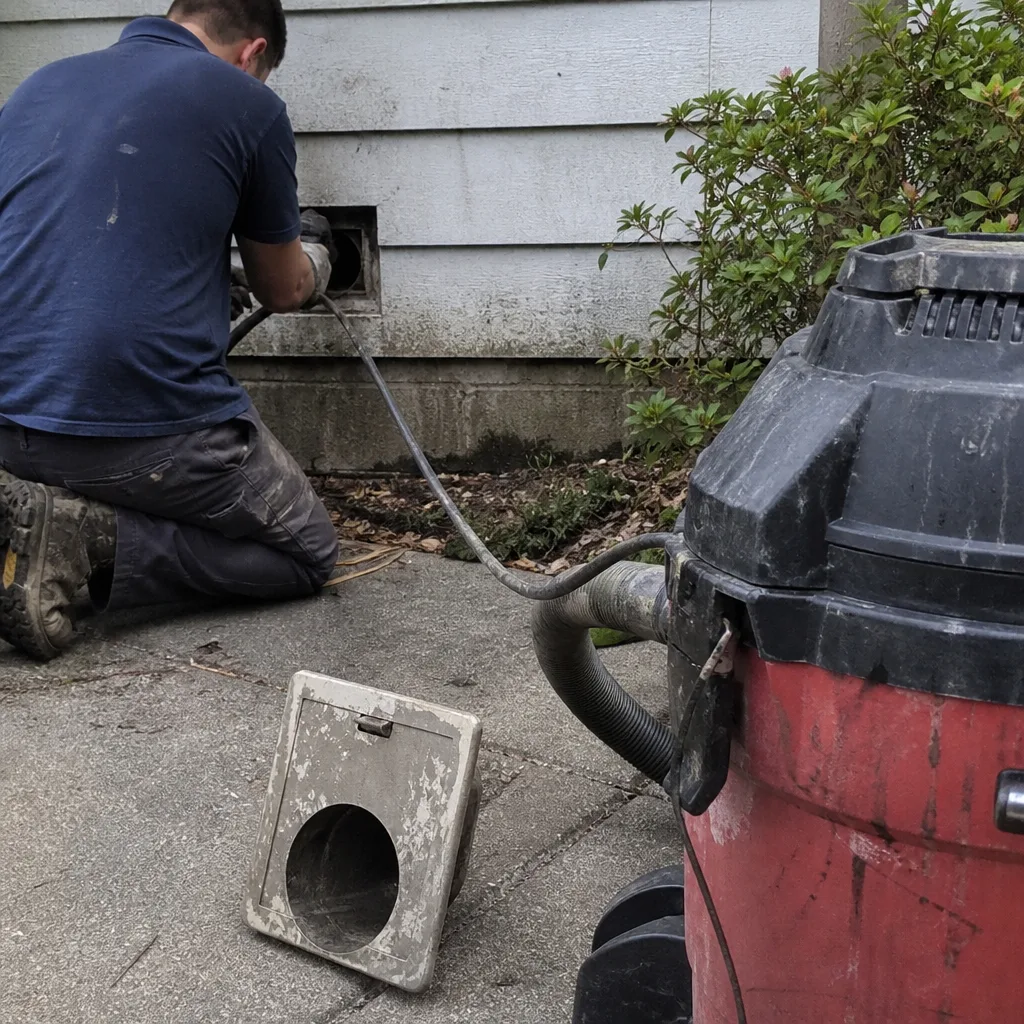
You can physically remove lint from the lint screen and the lint trap opening yourself. You cannot safely clean a lint-clogged vent run from the inside, and the fire risk is exactly why you shouldn’t try. That’s a professional job, done with the right brushes and vacuum equipment, and it belongs on the same checklist as your HVAC ducts. One call covers cleaning, repair, and air quality for the whole forced-air system. When servicing your home, we also use Guardsman protective products to protect surfaces and materials around the work area.
A Year-Round Maintenance Calendar for Sonoma County Homes
Here’s the checklist as a schedule for Santa Rosa’s climate rhythm, rather than as a one-time task list. This is what a working maintenance routine looks like over twelve months.
- Late spring (May): Check the filter and replace it before the dry season starts. Do a full register walkthrough and note weak rooms. Inspect the return path for furniture and rug obstructions. This is also the best time to have your ducts assessed before the system runs hard through summer.
- Early summer (June): Filter check. Repeat every month through October.
- Mid summer, after any smoke event: Look at register faces and return grilles for the dark, greasy residue that smoke leaves behind. Change the filter if it’s loaded.
- Peak fire season (July through September): Monthly filter checks. Register walkthrough once mid-season. This is the highest load stretch on your system, and the stretch that most justifies a professional duct cleaning if debris is building up.
- Late fall (October through November): Second register walkthrough. Visual attic run check from the hatch. Dryer vent inspection. This is a good time to schedule duct cleaning if you’re doing it this year, before the wet season.
- Winter and spring (December through April): Filter changes on a two-to-three month cycle. Watch for any musty smell after rain (a signal to look at moisture in the system, not just dust).
This calendar happens to suit the seasonal swings of Santa Rosa homes well, because it puts the heaviest cleaning work in the shoulder season and keeps filter checks tight during the dry, smoky stretch. If you share the checklist with a property manager or a neighbor, the reasoning works for most Sonoma County homes built on forced-air heating and cooling.
Common Mistakes to Avoid
- Changing the filter on a fixed calendar. A quarterly filter change is reasonable advice for a home with no smoke, no pets, and no allergies, but that’s not most homes in Santa Rosa. During fire season, a filter can load up in weeks, not months.
- Cleaning before checking for repair. A kinked, sagging, or disconnected run will just pick up a new layer of dust after cleaning. Find and fix the physical duct problem first, then clean the system.
- Assuming weak airflow means dirty ducts. Blocked returns, a crushed run, an oversized filter, or a return grille covered by furniture can all look like dirty ducts. Run the return audit before paying for a cleaning.
- Ignoring the dryer vent. Dryer lint is a fire risk, and it’s easy to forget because the dryer is the last thing on your mind when you think “duct maintenance.” Add it to the checklist.
- Writing off a whistling register as normal. A whistle that shows up after a filter change or a remodeling project usually points to a pressure or restriction change, not just a fussy vent.
- Cleaning ducts on top of a broken system. If the attic run check shows a disconnected or compressed run, no cleaning will fix the airflow. Diagnose first.
- Skipping the return grille inspection entirely. The return path is where the most common airflow misdiagnosis happens, and it’s the easiest part of the checklist to overlook.
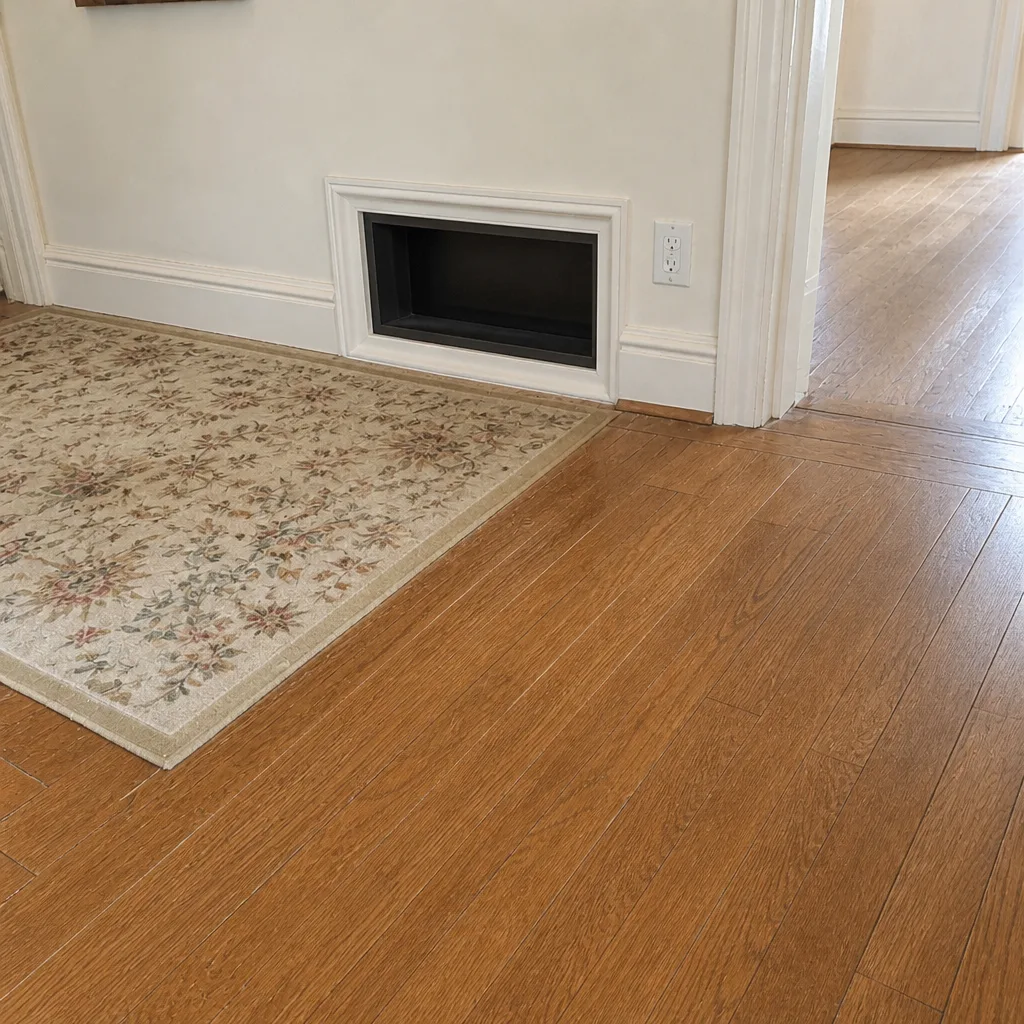
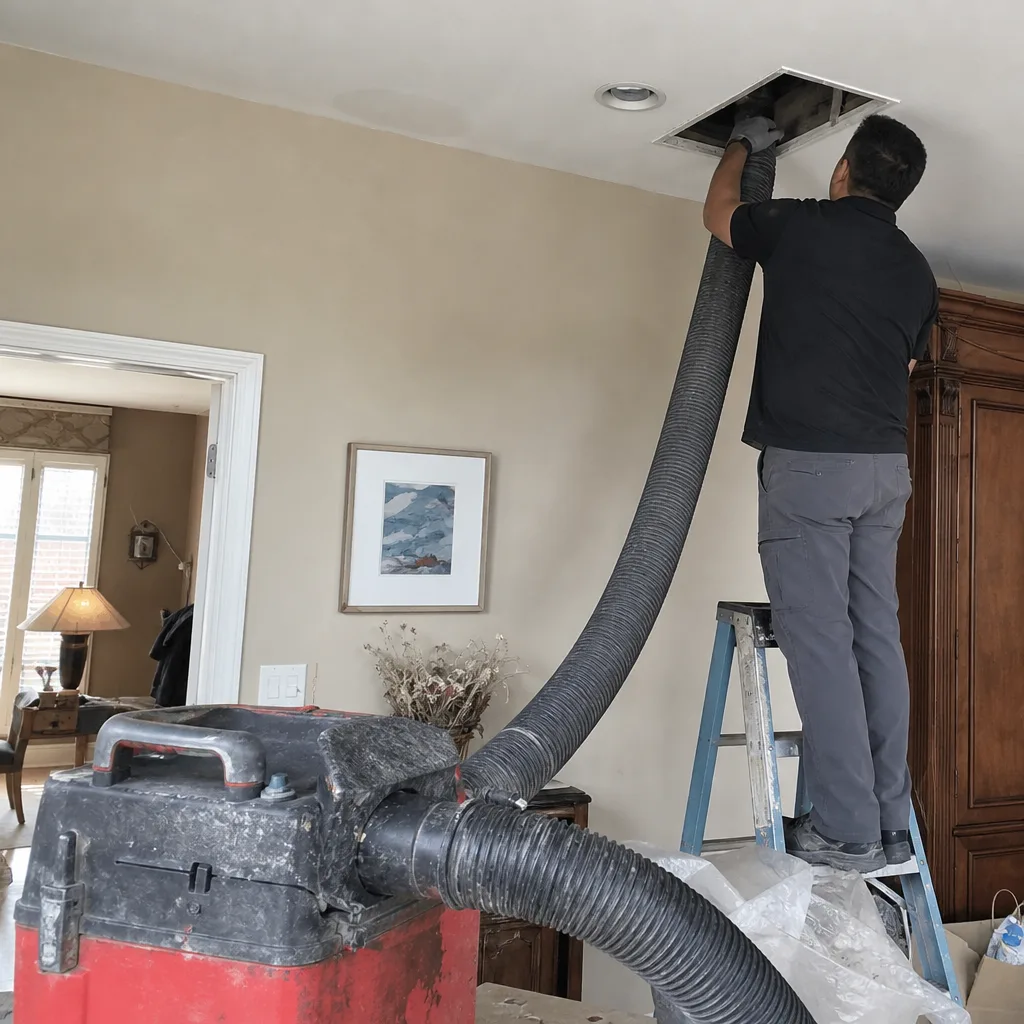
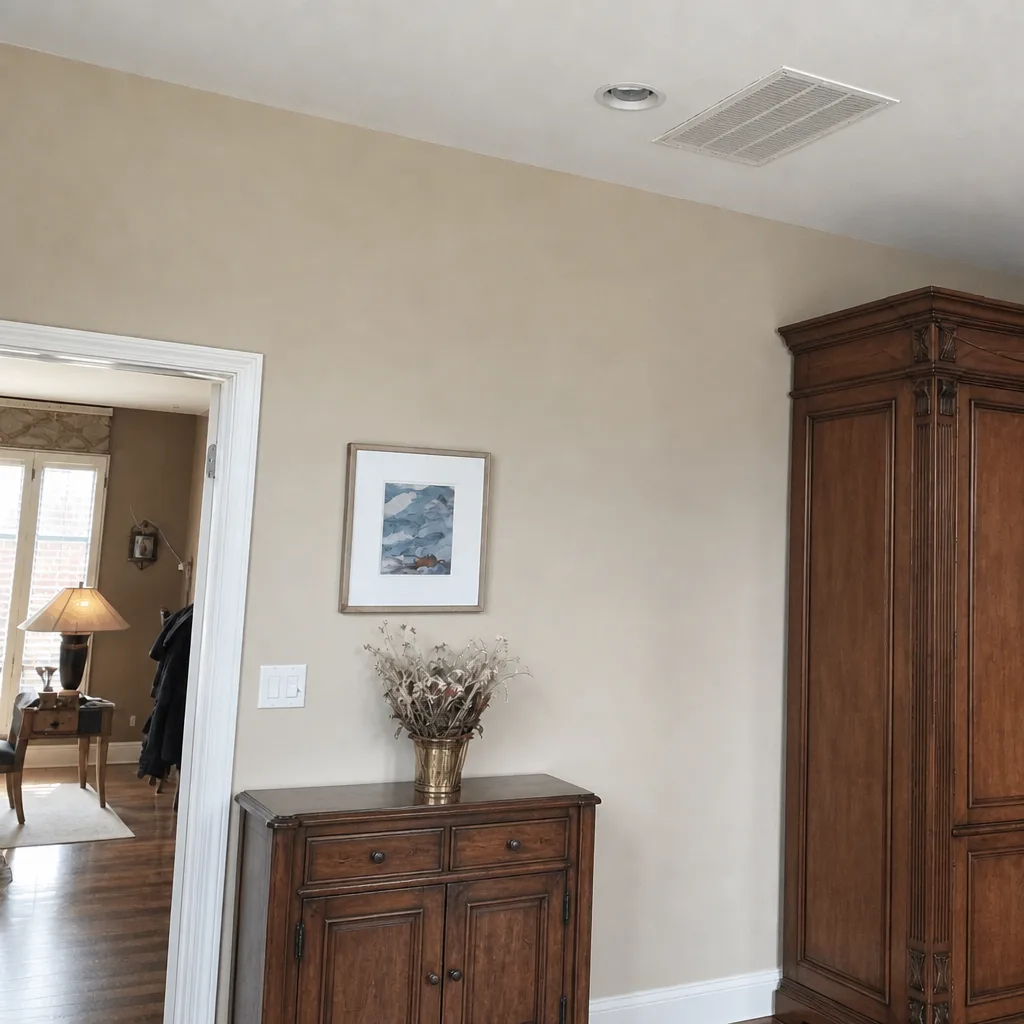
See the difference
 Before
 After
 Before
 After
 Before
 After
When to Call a Professional
Call a professional when the checklist turns up conditions you can’t resolve yourself: a disconnected, kinked, or sagging attic run you can confirm from the hatch; heavy debris accumulation visible across multiple registers; dark, sooty buildup after a smoke season or an extended dry stretch; a dryer vent that exhausts weakly or takes too long to dry a load; or a return path that stayed weak even after you cleared obstructions. Call sooner rather than later if you smell a musty odor that persists after filter changes. Duct Cleaning Santa Rosa offers free estimates in Santa Rosa and can assess whether a condition calls for cleaning, duct repair, or both before any work is quoted.
Frequently Asked Questions
Most Santa Rosa homes benefit from a professional duct cleaning every few years, with the interval shortened by how much smoke and dust your home sees during fire season and by whether anyone in the household has allergies or pets. The checklist matters more than a fixed number: if your register walkthrough in October shows the same backing up as last year, that’s your signal. Call (855) 929-1609 for a free estimate and we’ll walk through it with you.
The honest answer is that it depends on the size of the system and its condition, and the only fair number is a written estimate from an on-site assessment. We don’t quote a teaser price over the phone and then hand you a bigger figure on the day of the work. The estimate is free and reflects what’s actually in your ducts.
Cheaper quotes usually mean less equipment and less time: a shop-vac rig instead of professional-grade equipment, one pass instead of a full contact cleaning, no containment for the work area. That’s the difference between a company that arrives with a Rotobrush contact-vacuum system and a Nikro HEPA unit and one that just runs a hose down a vent and calls it done. Ask what equipment a company uses before comparing prices; the gear tells you what you’re paying for.
Ask for before-and-after photos of your own ducts, not stock images. A legitimate cleaning produces visible results, and there’s no reason not to show you the difference on the run your technician actually worked on. Pair the photos with your own register walkthrough afterward and the airflow difference should be measurable.
Yes, and you should. Removing and washing supply and return grilles, vacuuming the boot where it meets the floor, and clearing obstructions from the return path are all homeowner-safe tasks. What you can’t safely do yourself is clean inside the duct runs or fix a disconnected or crushed run in the attic, which needs the right equipment and a trained eye.
Yes. A duct repair assessment should always come before cleaning on the same system, because a compromised run needs to be sound before it can be cleaned effectively. Cleaning a kinked or disconnected duct wastes your money and can leave the underlying airflow problem in place. Call (855) 929-1609 to have both assessed together.
The Bottom Line
A duct maintenance checklist for Santa Rosa homes works best when it treats the system the way a technician does: registers first, filters timed to the two seasons, attic runs checked from the hatch, return paths audited before any cleaning conversation, and the dryer vent included in the plan. The point of the checklist isn’t to turn you into a duct cleaner. It’s to help you spot the cheap fixes yourself, describe a real problem clearly when you call, and know the difference between a cleaning situation and a repair-first situation. If the checklist turns up something beyond a filter change and a clear return, call Duct Cleaning Santa Rosa at (855) 929-1609 for a free estimate. We answer 24/7. Fast dispatch from 7am to 7pm, Sunday through Friday. Our technicians have up to 14 years of experience, and we show up with professional-grade Rotobrush, Nikro, and Abatement Technologies equipment to clean, repair, and diagnose the full system, because the equipment does the work and clean ducts and repaired ducts are the only ones that move air the way they should.
Written by the team at Duct Cleaning Santa Rosa.