
Last updated November 15, 2026
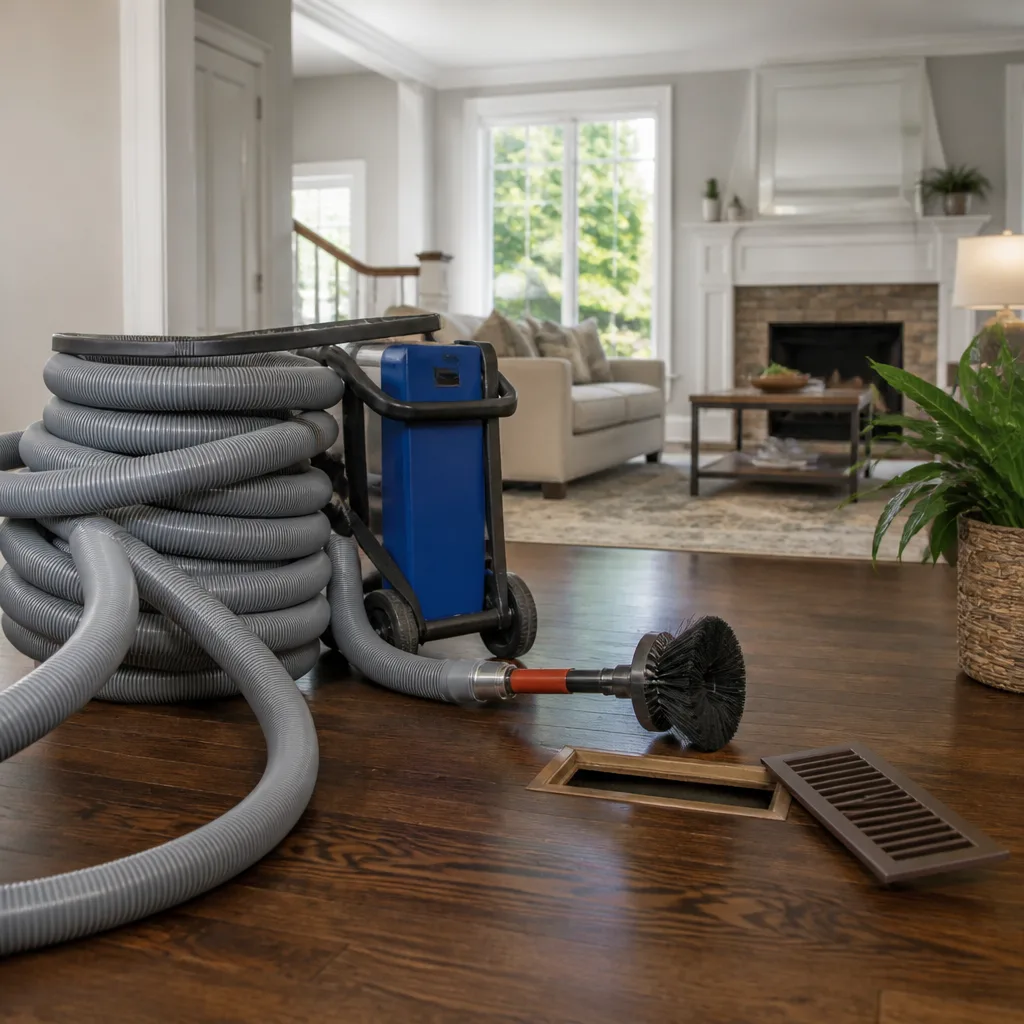 Whole-home duct cleaning
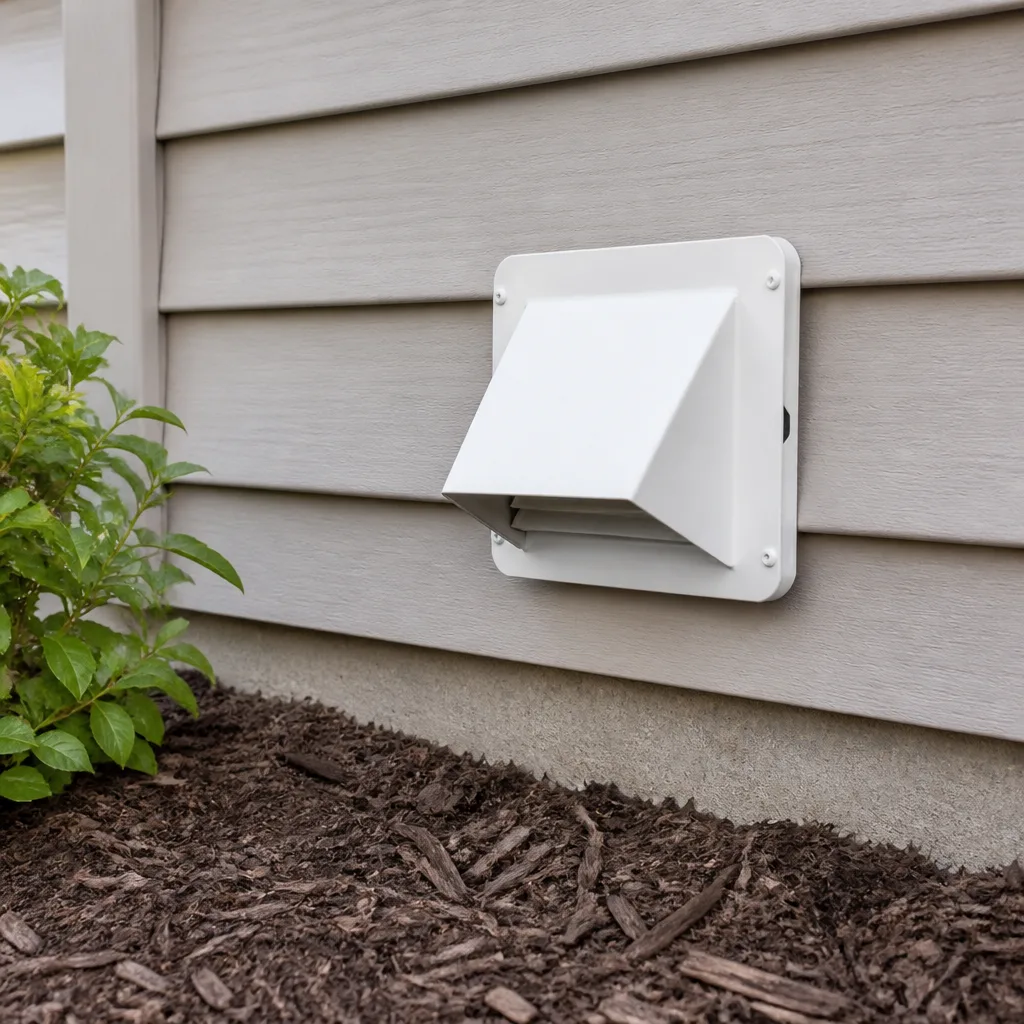 Dryer vent cleaning
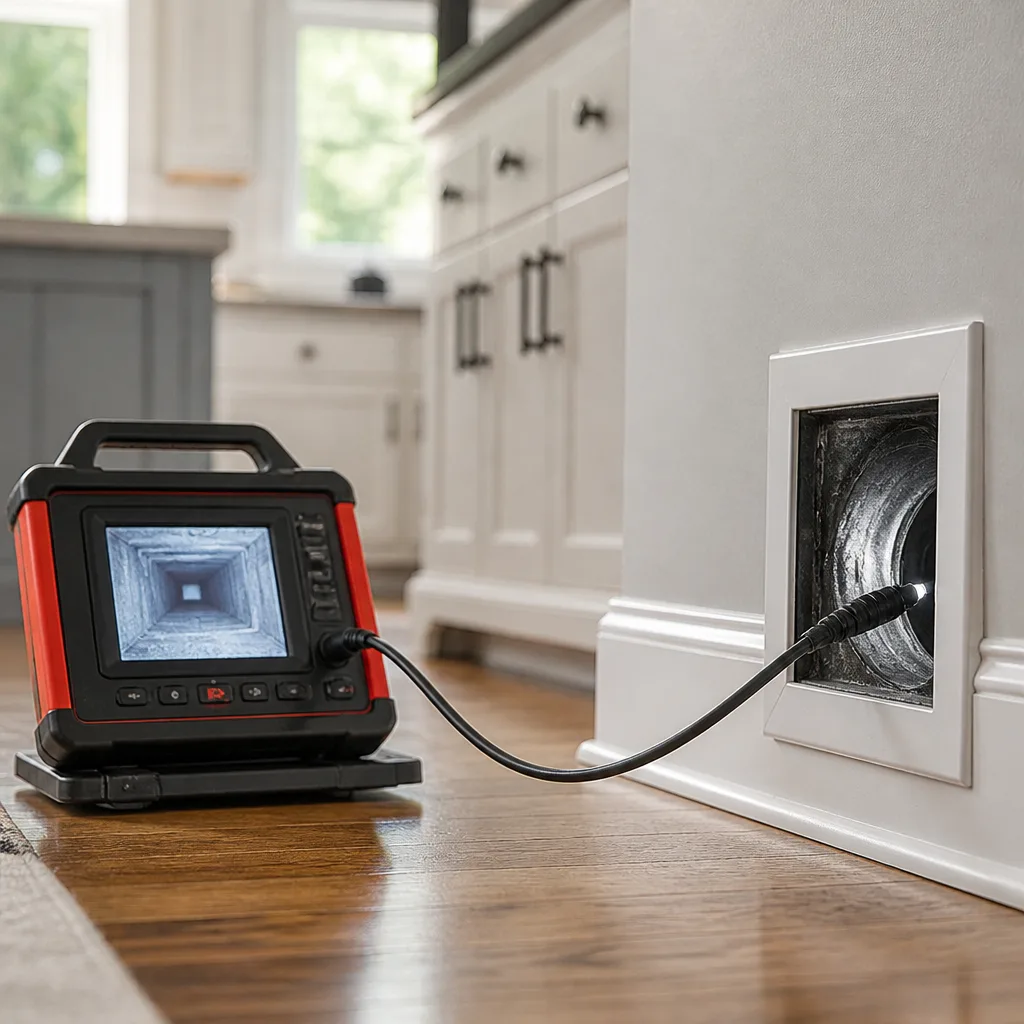 Camera inspection
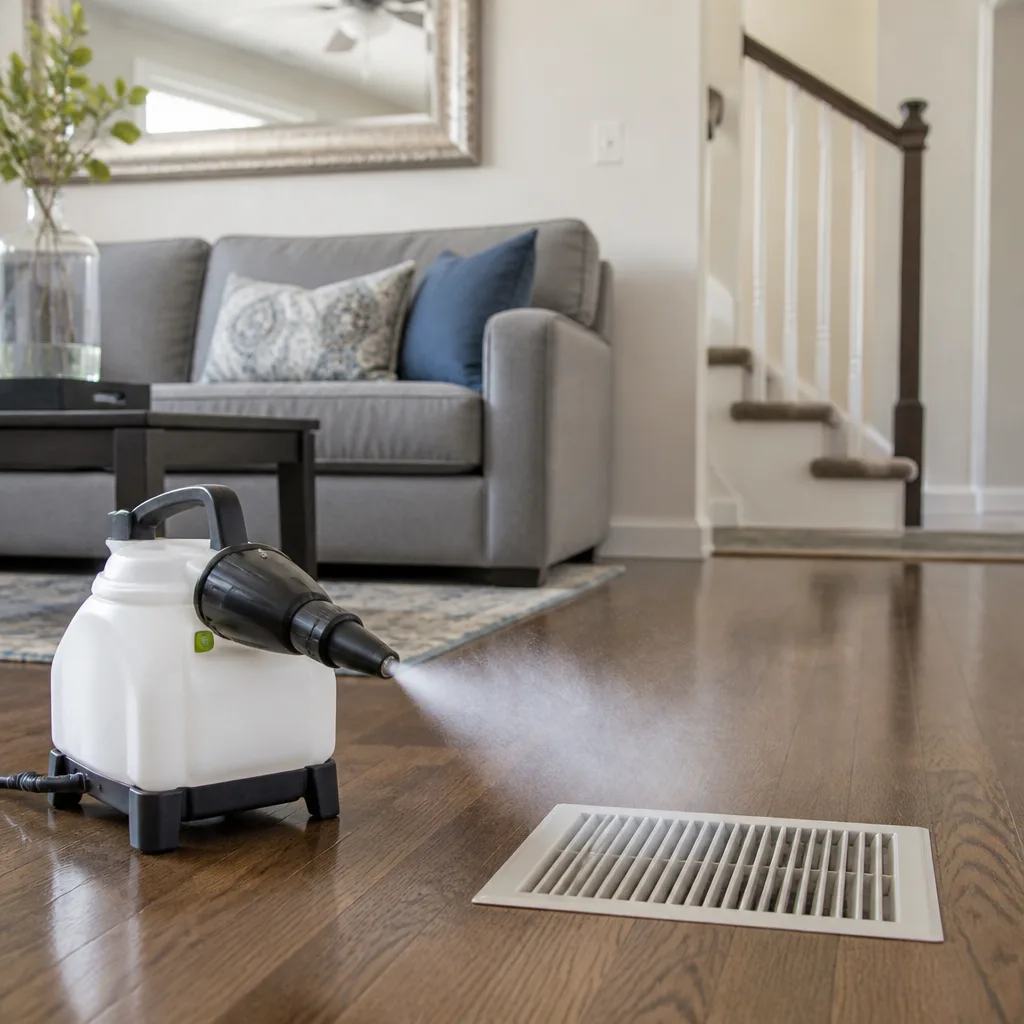 Sanitizing & deodorizing
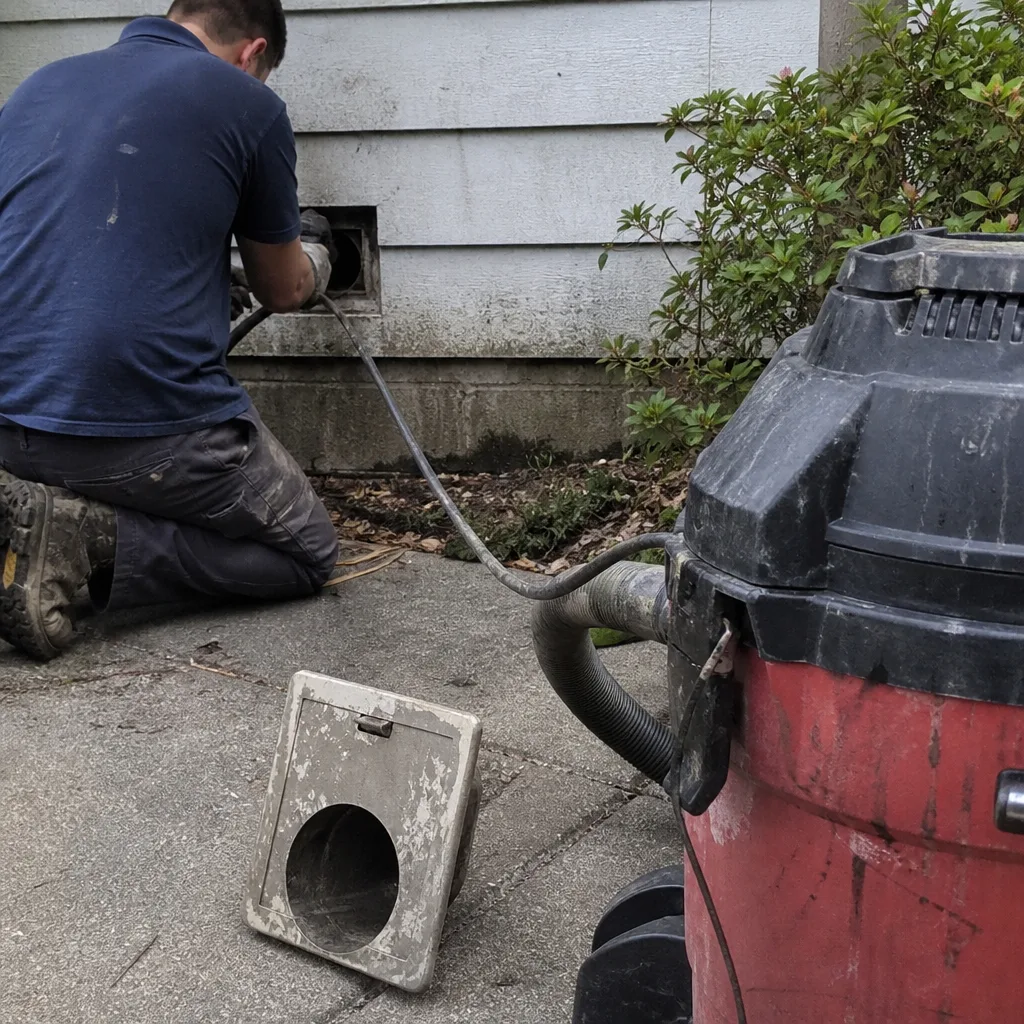
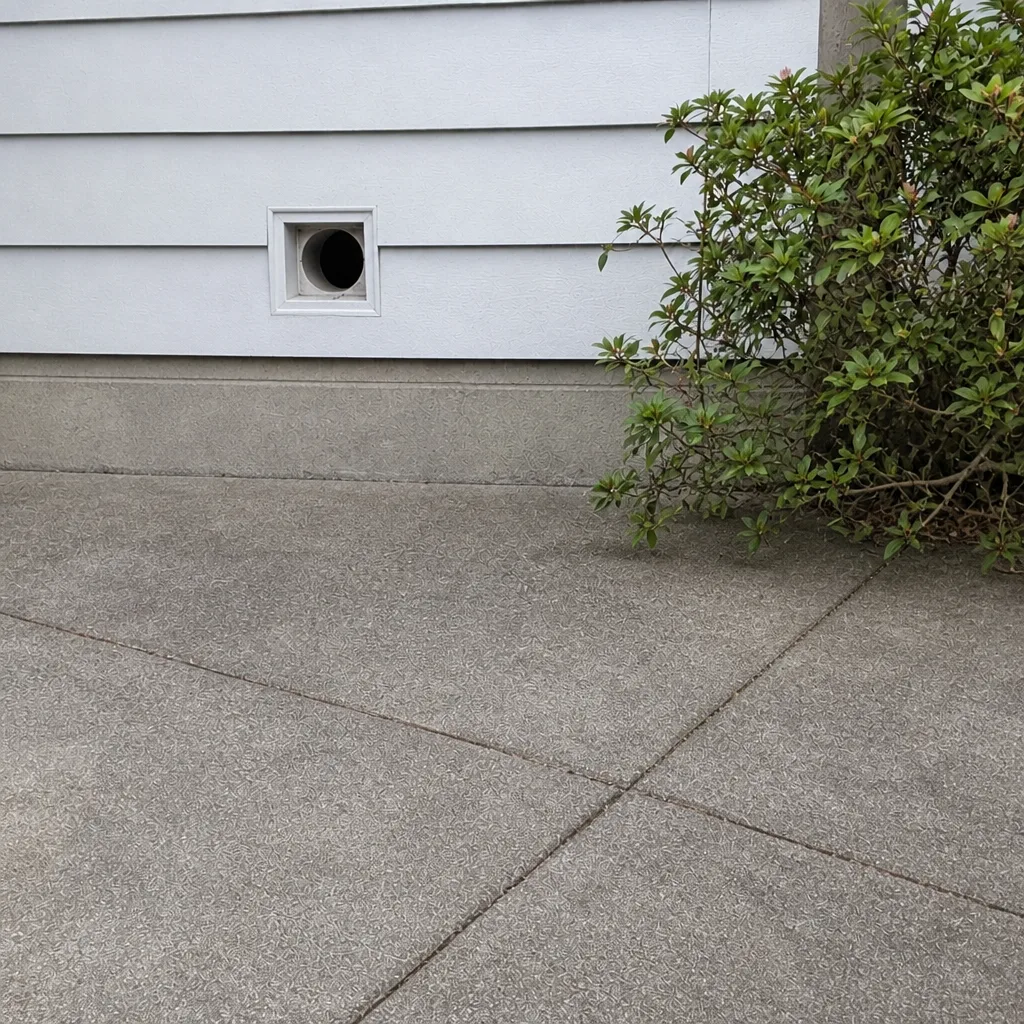
Whole-system duct and dryer vent check with before-and-after photos - you see exactly what came out of your vents
That "$99 whole-house special" is a bait ad - the real number appears once they are in your hallway, or the "clean" is a shop-vac at the register. We photograph the inside of your ducts before and after instead.
Air Duct Cleaning Troubleshooting in Santa Rosa: Common Problems and How to Fix Them
Most people assume that a room running cold means the ducts are full of dust, so they book a cleaning and expect the problem to go away. Often it doesn’t. What they’re actually dealing with is a mechanical fault somewhere in the system: flex duct that has collapsed on itself, a trunk line that pulled loose at a fitting, a return grille that’s too small or choked off. Cleaning a broken duct just gives you clean air blowing through a broken duct. This guide is built to help you read the symptoms correctly first, so you know whether you’re looking at dirt or damage, and what the next step actually is. We’ll cover the tests technicians run, the return-side problems that get misdiagnosed, and how Santa Rosa’s fire seasons have changed what duct problems look like here.
Quick Answer
If airflow has been dropping gradually and you notice a musty smell, that’s most likely a dirty duct and cleaning will help. If airflow dropped suddenly or one room stays far colder than the rest no matter what the thermostat says, that’s a mechanical failure and cleaning won’t fix it until the duct is repaired. The reliable way to tell the difference is a pressure test with a Magnehelic gauge plus a camera inspection of the duct interior before anyone starts cleaning.
Styles & brands we work with
- Whole-home duct cleaning
- Dryer vent cleaning
- Camera inspection
- Sanitizing & deodorizing
Table of Contents
- Dirty Ducts vs. Broken Ducts: How to Tell Which Problem You Have
- How Technicians Locate Collapsed or Disconnected Flex Duct
- Post-Wildfire Ash in Santa Rosa Ducts and Why Standard Cleaning Falls Short
- Troubleshooting the Return Side: The Problem That Gets Misdiagnosed
- When a Camera Inspection Should Come Before Cleaning
- What Camera Footage Actually Tells You About Your Next Step
- When Duct Repair Makes Sense and When Replacement Does
- Airflow Checks You Can Do Before You Call Anyone
Dirty Ducts vs. Broken Ducts: How to Tell Which Problem You Have
The single most useful skill in duct troubleshooting is separating a dirt problem from a mechanical problem. They present differently, and confusing the two leads to money spent on the wrong service. A dirt problem is progressive. It builds over months and years. A mechanical problem is usually abrupt. One day the room was fine, the next it wasn’t.
Here’s how the two patterns break down:
- Dirty duct symptoms: airflow that has been slowly declining across the whole house, a musty or dusty smell when the system kicks on, visible dust settling on registers faster than usual, allergy-type irritation that gets worse when the heat or AC runs.
- Mechanical failure symptoms: a sudden drop in airflow to one or more rooms, a temperature swing of 8 – 12°F between rooms with the thermostat set the same, whistling or whooshing at a single register, the blower running but almost no air coming out anywhere, or a room that never heats or cools no matter how long the system runs.
The temperature-deviation test is the one most homeowners can run themselves. Set the thermostat, let the system run for a full cycle, then check room temperatures with a simple infrared thermometer or a digital room thermometer. In most Santa Rosa homes, a swing of a few degrees between rooms is normal. A swing of eight degrees or more in a single room points hard at a duct problem, not a dirt problem.
You’ll also see this pattern a lot in older Santa Rosa neighborhoods where additions and retrofits have been layered onto original ductwork. A room added off the back of the house years later may be fed by a long, undersized run of flex duct that was never rebalanced. That’s a design and mechanical issue, not a cleaning job.
How Technicians Locate Collapsed or Disconnected Flex Duct
Collapsed flex duct is the most common hidden failure in residential systems. Flexible duct runs through attics and crawlspaces in a limp tube, and over time it can sag, kink at a tight turn, or crush under its own weight or building materials. When it collapses, airflow drops without any visible sign at the register. From the room side, it looks exactly like a dirty duct.
A technician finds it with pressure, not with guessing. Here’s the general sequence:
- Static pressure reading at the air handler. A Magnehelic gauge measures the pressure difference between the supply and return sides. High static pressure combined with weak airflow points to a restriction somewhere in the system.
- Zone-by-zone pressure comparison. The technician tests each branch to see where pressure is dropping off. The branch with the abnormal reading is where the fault lives.
- Thermal and camera walk. An infrared camera over the duct runs in the attic or crawlspace often reveals a collapsed section as a hot or cold streak. A duct camera confirms it from inside.
- Fitting check at the trunk. Disconnected runs pull loose at the collar where the branch meets the main trunk. A technician squeezes the joint and watches for pressure change or a puff of air.
- Return-side confirmation. The technician checks the return path as well, because a blocked return creates the same high-static-pressure signature as a collapsed supply.
In our experience across Santa Rosa, the failure usually shows up at the flex-off-collar joint if the duct was installed with a short crimp and a single zip tie, or at a tight 90-degree bend where the inner liner has pinched shut. Neither is something you can spot from the hallway. Both are things a pressure test surfaces in a couple of minutes.
Post-Wildfire Ash in Santa Rosa Ducts and Why Standard Cleaning Falls Short
Santa Rosa has been through enough wildfire seasons that duct cleaning here genuinely differs from duct cleaning in most of the country. Smoke intrusion doesn’t just deposit loose ash on duct walls. Under the right conditions, fine particulate gets pulled into the system, driven against the fiberglass liner inside flex duct and rigid board, and embedded there. The liner is fibrous by design. It holds onto fine ash, and a standard brushing pass doesn’t pull it out.
That distinction matters because it changes what the cleaning job needs to look like:
- HEPA filtration on the vacuum side. Standard shop-vac rigs push fine particulate back into the room air. HEPA-rated units capture it and keep it in the tank. We use Nikro HEPA-filtration equipment for exactly this reason. If a cleaning job on a smoke-affected home is done without HEPA, the homeowner eats the same ash twice.
- Negative air containment. Remediation crews use negative-air machines to stop contaminants escaping into the living space while work is underway. Duct cleaning after a smoke event should hold to the same standard. We use Abatement Technologies negative-air machines to create containment around the working area.
- Contact cleaning, not just blowing. Contact-vacuum brush systems like the Rotobrush physically scrub the duct wall while capturing what they dislodge. Air-only cleaning loosens ash without removing it from the liner.
- Liner inspection before and after. Fiberglass liner that has held ash long-term may look stained even after cleaning. A camera pass before the work tells you what you’re really dealing with, and a camera pass after confirms what came out.
One more thing: a smoke event doesn’t only load the supply side. The return ducts carry the same ash load, often heavier, because they’re pulling air back from every room. A cleaning that skips or shortcuts the return side puts a good chunk of the ash right back into the supply the first time the system cycles. Post-wildfire jobs in Santa Rosa need the full loop, supply and return, done with HEPA containment.
Troubleshooting the Return Side: The Problem That Gets Misdiagnosed
Most homeowners think of the supply side when airflow gets weak. Air blows out of the register, so if it’s weak, the supply must be restricted. Not necessarily. A system is a loop. Air can only move out to the extent it can come back. When the return path is blocked or too small, the whole system starves, and the symptom looks exactly like a dirty supply duct.
Return-side problems come in a few flavors:
- Undersized return grille. A return opening that was sized for the original system shares its load across every room the supply side feeds. Add square footage later without adding return capacity and you get chronic low airflow throughout the house.
- Blocked return grille. Furniture, rugs, storage boxes, pet hair, and dust mats all reduce the open area of a return. Return filters that are too restrictive do the same thing.
- Collapsed or kinked return trunk. Return duct runs through crawlspaces and attic space like the supply side and can collapse the same way. High pressure at the air handler, low airflow everywhere.
- Missing return in a zone. Rooms with doors that close all day and no return path of their own create pressure pockets, so air can’t cycle through those rooms even when the supply run is fine.
Here’s the test that distinguishes a return problem from a supply problem. A technician takes a static pressure reading across the air handler and compares the supply-side drop to the return-side drop. If the return side is where the pressure is spiking, cleaning and repairing the supply branch won’t fix anything. The return gets addressed first. We’ve seen this specific misdiagnosis more than any other in Santa Rosa homes with additions or remodeled floor plans, where the return side got short-changed during the construction.
Before committing to cleaning, ask whoever is evaluating your system whether they’ve checked the return side by name. If the answer is vague, you’re about to pay for a cleaning that doesn’t touch the actual problem.
When a Camera Inspection Should Come Before Cleaning
There’s a time to clean first and inspect as you go, and there’s a time to inspect before anyone turns on a machine. Knowing which you’re in saves you from paying for a cleaning that addresses the wrong thing.
Camera inspection should come first when any of these apply:
- The temperature in one room swings 8°F or more from the rest of the house.
- Airflow has dropped suddenly anywhere in the system.
- The system has been through a smoke event or a recent renovation that could have pulled dust or debris into the ducts.
- You’ve had a duct cleaning done and the symptoms came back within a few months.
- You’ve noticed moisture, staining, or musty smell near registers that could indicate a liner issue.
- You smell something burning or unusual at a register. Turn the system off and get it looked at before running it again.
A camera pass through the system is straightforward. A small bore camera on a flexible wand is fed through a register or a service opening, and the technician walks the duct while watching the feed on a monitor. The whole inspection takes minutes and covers the branch runs, the main trunk, and the key fittings where flex duct tends to fail. We do this on every job where the symptoms suggest a mechanical fault before cleaning, and we use it on routine cleans as a before-and-after check so the homeowner sees what the inside of their system actually looks like.
If someone quotes you a duct cleaning without ever running a camera through your system, you’re buying a service based on a guess about what’s inside. That’s the difference between air duct cleaning that solves a problem and air duct cleaning that just runs a brush through a tube.
What Camera Footage Actually Tells You About Your Next Step
The point of a camera inspection isn’t to produce a dramatic video. It’s to answer a specific question: is the duct in serviceable condition, and if not, what kind of repair does it need? Four things show up on camera, and each one points to a different next step.
- Crushed or collapsed liner. The duct wall has folded in on itself or the inner liner has separated and sagged shut. This is a mechanical failure. Cleaning won’t clear it because the duct physically can’t pass air. The affected run needs to be repaired or replaced before cleaning the rest of the system makes sense.
- Disconnected joints. You’ll see a gap where the branch duct pulled away from the trunk collar. Sometimes there’s a puff of dust or debris collecting at the gap. The repair is a full mechanical reconnect, not a wrap of tape. This is the most common mechanical fault we find, and it’s why Duct Cleaning Santa Rosa offers duct repair as a standalone service: a cleaning that doesn’t fix the disconnect leaves the problem in place.
- Standing debris or ash accumulation. A heavy mat of dust, ash, or construction debris collected in the low spots of the run. This is a cleaning job, but it needs HEPA capture and contact vacuuming, not a single air pass. Ash that has settled into fiberglass liner usually takes more than one pass.
- Mold growth or standing moisture. Discoloration, visible growth on the liner, or water staining signals a moisture problem upstream that duct cleaning won’t solve. The moisture source needs to be found and stopped first. If you see this on a camera feed, don’t let anyone clean over it and call it done.
Footage matters because it grounds the conversation in evidence rather than opinion. When we show a homeowner a length of crushed flex duct on a monitor, the repair discussion is straightforward. When the footage shows nothing but ordinary dust loading, we clean and leave it at that. Either way you know what you’re paying for before the work starts.
When Duct Repair Makes Sense and When Replacement Does
Once a mechanical fault is confirmed, the next decision is repair versus replace for the affected run. Most of the time, a localized repair is the right answer. The system was mostly working before the fault occurred, so restoring that specific section gets you back to normal airflow at a fraction of the cost of a full replacement.
Localized repair is usually the right call when:
- The fault is confined to one branch run or one fitting.
- The duct is otherwise intact, with the liner still in reasonable shape.
- The system was working properly before the failure and the underlying design is sound.
Full replacement of a section or the whole trunk is usually the right call when:
- Multiple runs show crushed or separated liner.
- The ducting is undersized throughout for the square footage the system is serving.
- Liner damage is severe enough that cleaning won’t restore a usable inner surface.
- The original installation was done poorly enough that patching would just chase the failures from one joint to the next.
For homeowners, the practical rule is this. A repair fixes a failure. A replacement fixes a design problem. If the system was once working and then broke, repair. If the system has never quite worked right, especially after an addition or remodel, replacement of the deficient section is often the honest answer. We carry both capabilities because the two services solve different problems, and a duct repair visit is often the follow-up to a cleaning that revealed something structural.
Airflow Checks You Can Do Before You Call Anyone
You don’t need specialized equipment to build a useful picture of what’s happening in your system before a technician arrives. A few basic checks tighten the whole troubleshooting process and often tell you whether you’re heading toward a cleaning or a repair.
- Tissue test at each register. Hold a tissue up to a supply register while the system runs. A healthy register pulls the tissue gently or blows it steadily. A weak register barely moves it. Note which registers are weak and which are strong.
- Temperature check. Use an infrared thermometer or a room thermometer in each room after a full cycle. Uneven rooms point to duct problems, not dirt.
- Return grille check. Confirm no return grille is blocked by furniture, rugs, or storage. Look at the return filter. If it’s clogged or unusually restrictive, replace it and recheck the airflow.
- Smell test. Notice whether the air has a musty, dusty, or smoky edge when the system first starts up. Musty points to moisture or duct contamination. Smoky points to a smoke-event problem that needs HEPA equipment.
- Listen at the air handler. Whistling, whooshing, or rattling at the unit while the blower runs can indicate high static pressure from a restriction somewhere in the system.
- Recent history check. Write down any recent event that could have affected the ducts: a remodel, a smoke event, a room addition, a new filter type, or a duct cleaning done in the past couple of years.
Bring these notes to the call and the technician can target the evaluation. On a Santa Rosa home that has been through a smoke event or a remodel, that history alone often puts us on the right track before anyone opens a return grille.
Common Mistakes to Avoid
- Booking a cleaning before diagnosing the symptom. If the symptom pattern is mechanical, a cleaning without a pressure test and camera inspection just gets you a cleaned duct that still doesn’t work. Ask for the diagnosis first.
- Assuming a cold room is a dirty duct problem. An 8 – 12°F room temperature swing is a duct or airflow problem, not a dust problem. Chasing it with cleaning wastes money and delays the actual repair.
- Ignoring the return side. A blocked or undersized return starves the whole system, and cleaning the supply side alone won’t fix it. Any evaluation should include the return path by name.
- Using shop-vac-grade equipment on a smoke-affected home. Post-wildfire cleaning needs HEPA filtration and negative-air containment. Without them, fine ash just recirculates into the living space during the job.
- Skipping the camera before a big job. Footage before the work is what tells you whether you’re dealing with dust, ash, a disconnected joint, or a moisture problem. Without it, the pricing is a guess.
- Taping over a disconnected duct and calling it repaired. A taped joint that pulled loose once will pull loose again. Flex duct needs a proper mechanical reconnect at the collar, not a wrap of tape.
- Cleaning over visible mold or moisture on camera. Mold growth inside a duct points to a moisture source upstream. Cleaning first without addressing the source just resets the clock on the same problem.
See the difference
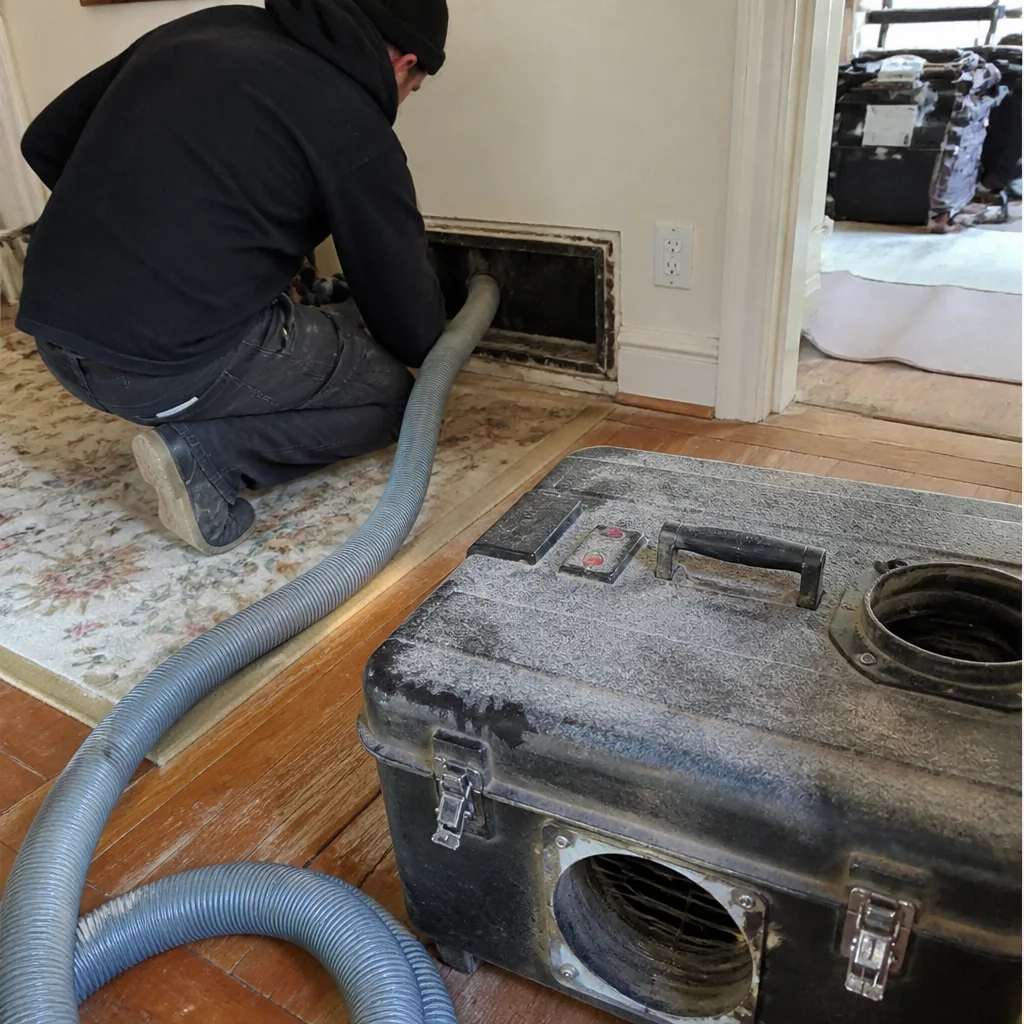 Before
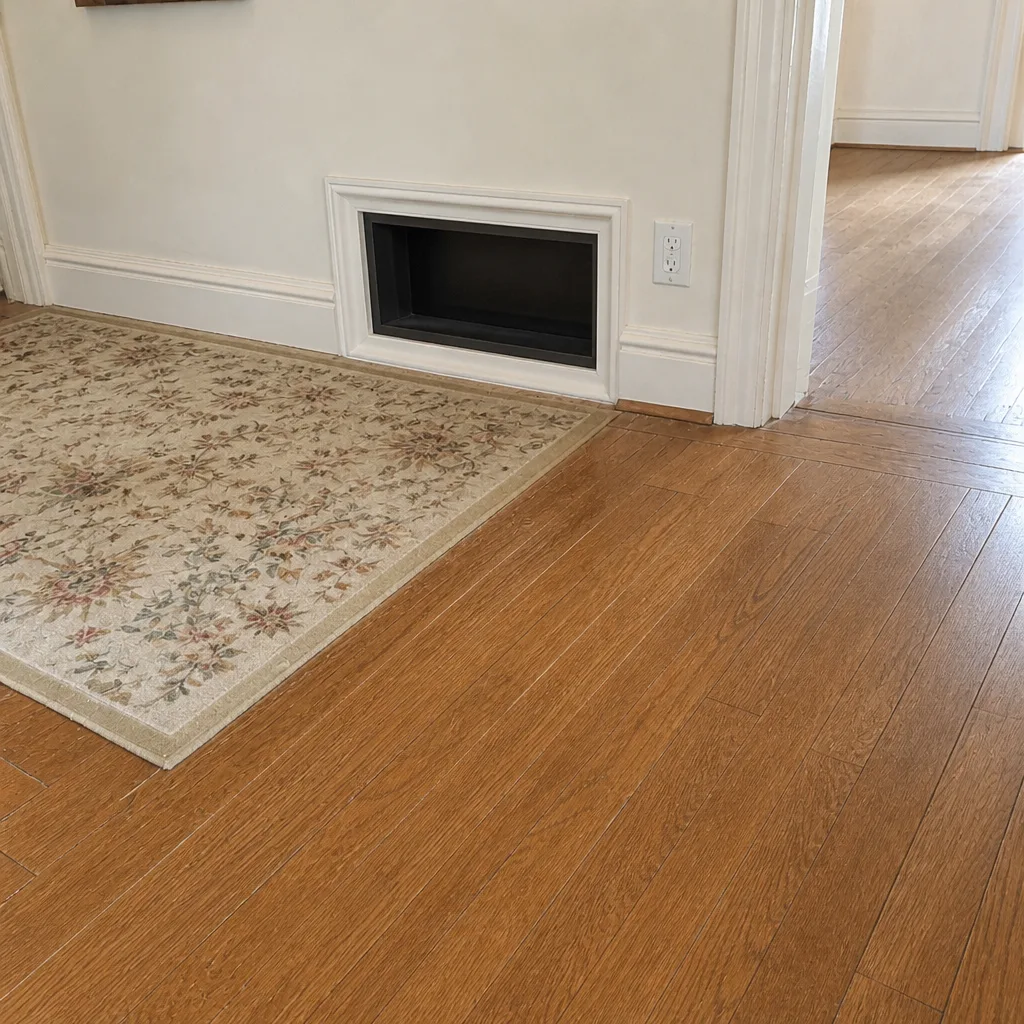 After
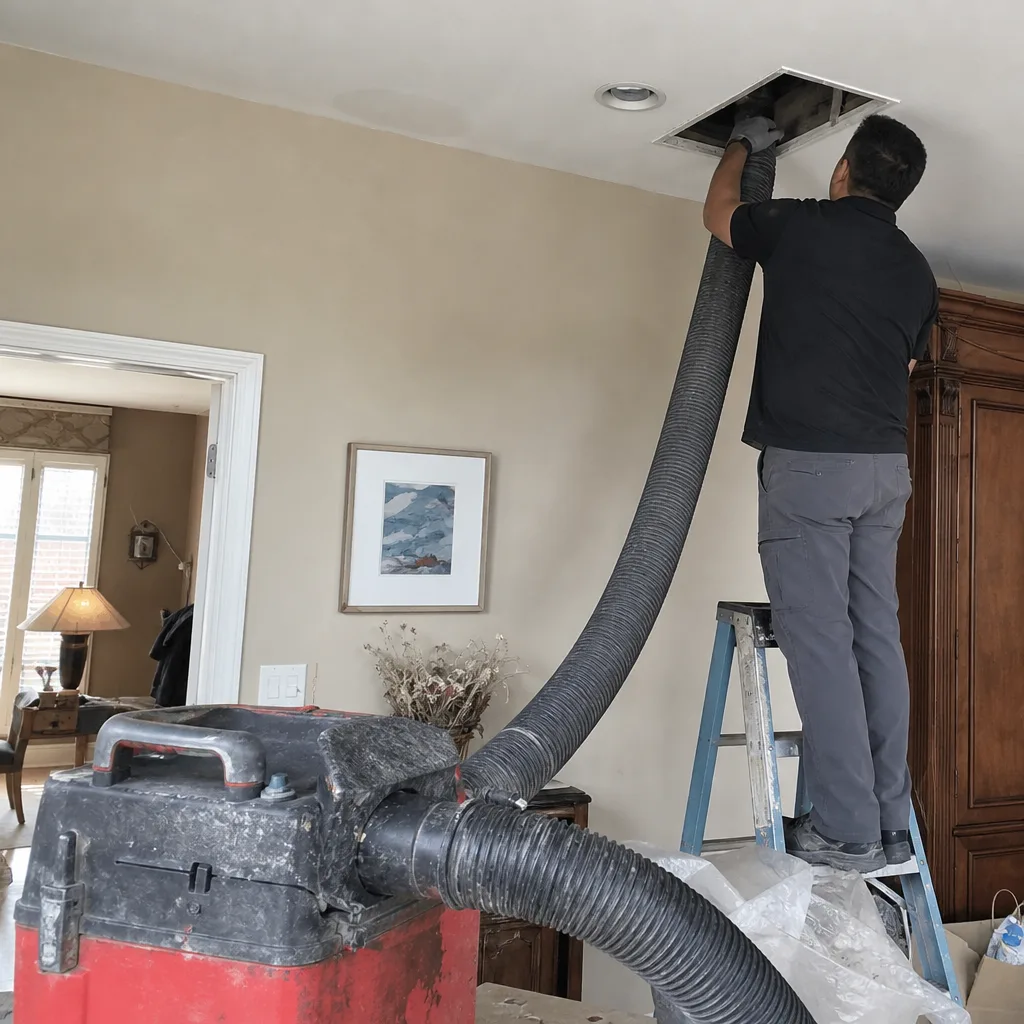 Before
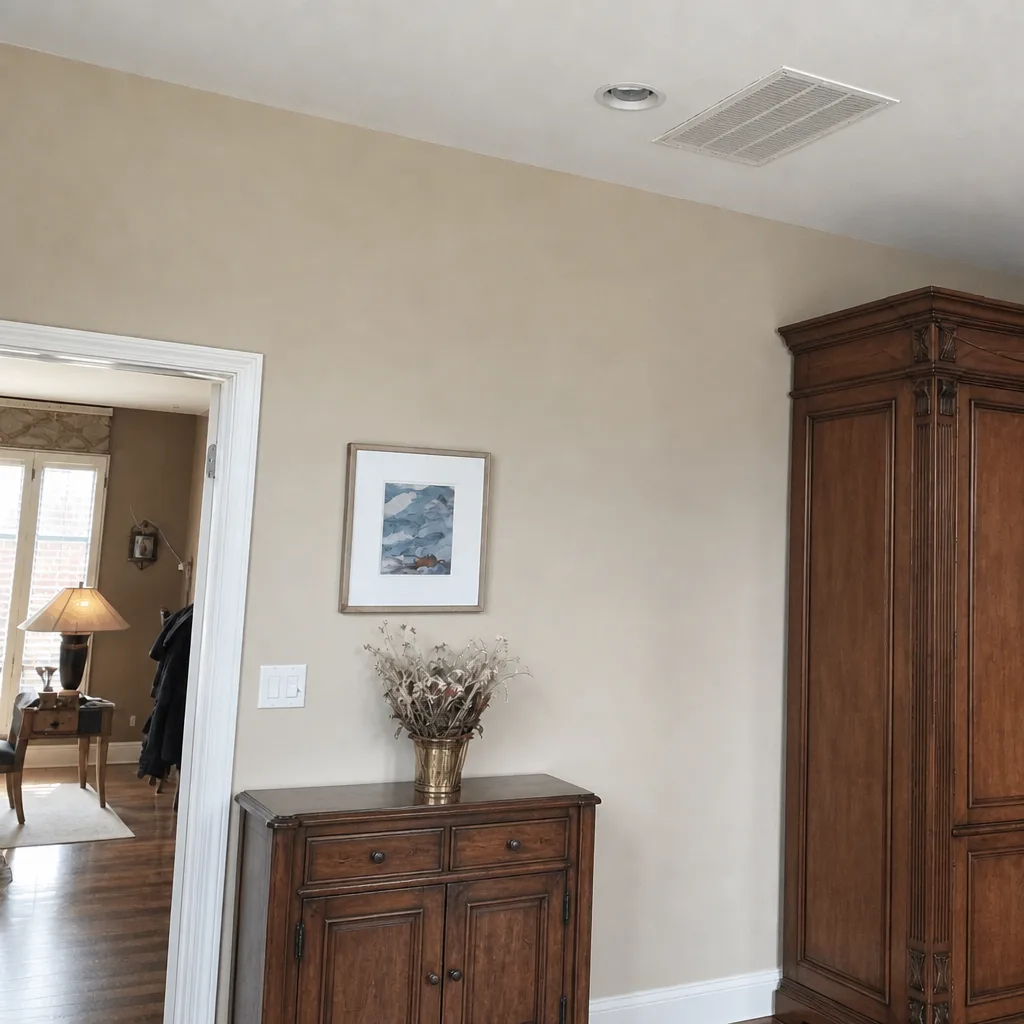 After
 Before
 After
When to Call a Professional
Call a professional when the symptom pattern is mechanical: sudden airflow loss, one room far colder than the rest, a whistling register, or a blower running with almost no air output. Call when the system has been through a wildfire smoke event and you smell smoke or ash when the heat or AC runs. Call when you’ve already had a cleaning done and the symptoms returned within months, because that usually means the original fault was never found. Call when you’re planning a duct cleaning and the contractor won’t run a pressure test or camera inspection before quoting the job. And call when you just want a straight answer on what your system actually needs before you spend money on it.
Santa Rosa homeowners and property managers can schedule a free estimate that starts with diagnosis, not a sales pitch. Duct Cleaning Santa Rosa offers free estimates in Santa Rosa. Call (855) 929-1609. We answer 24/7. Fast dispatch from 7am to 7pm, Sunday through Friday. Our technicians have up to 14 years of experience, and every job starts with the system, not the price list.
Frequently Asked Questions
Air duct cleaning in Santa Rosa is priced per system by written estimate, not per vent, and a written estimate is always free. The price depends on the size of the system, the condition of the ducts, and whether the return side needs separate attention. Post-wildfire jobs that require HEPA filtration and negative-air containment involve more setup time than a routine cleaning, which affects the estimate. Call (855) 929-1609 for an exact quote. Estimates are free.
Dirty ducts show gradual airflow decline, a musty smell at startup, and dust settling faster than usual. Broken ducts show sudden airflow loss, an 8 – 12°F temperature swing between rooms, or whistling at a single register. The reliable way to separate the two is a pressure test with a Magnehelic gauge plus a camera inspection of the duct interior before any cleaning begins. Call (855) 929-1609 to schedule an evaluation. Estimates are free.
Cheap quotes usually leave out the parts of the job that make a real difference: return-side cleaning, HEPA filtration, negative-air containment, and the pressure test and camera inspection that reveal mechanical faults. Those shortcuts cut cost and cut results. You end up paying twice when the symptoms return and the fault was never found. Ask for the scope of work in writing before you compare prices. Call (855) 929-1609 for a scope you can compare line by line. Estimates are free.
You should see camera footage of the inside of your ducts before and after the cleaning. That’s how we document every job. The before footage shows what’s actually in the system. The after footage shows what came out. If a contractor can’t show you before-and-after footage of your own ducts, ask why.
There’s no fixed interval that fits every home. What matters is the symptom pattern and the home’s history. A smoke-affected Santa Rosa home may need cleaning after each fire season. A home with no smoke exposure, no recent remodel, and no pets may go years between cleanings. The useful trigger isn’t a calendar. It’s when the symptoms shift.
Yes, if it hasn’t been done in a while, and it’s a genuine fire risk that most duct cleaners ignore or outsource. Dryer lint accumulates inside the flex run and clogs the exhaust path. That heat buildup is a leading cause of residential structure fires. We handle dryer vent cleaning as a standard service so one call covers the whole forced-air loop: supply ducts, return ducts, and the dryer vent. Call (855) 929-1609 to add it to your estimate. Estimates are free.
Yes. Standard cleaning equipment isn’t enough for ash embedded in fiberglass liner. We use Nikro HEPA-filtration units so fine particulate is captured, not recirculated, and Abatement Technologies negative-air machines to contain the work area. Contact-vacuum brush systems like the Rotobrush do the wall scrubbing that an air-only pass can’t. If your duct cleaning quote doesn’t name the equipment, ask what’s being brought to your home.
Duct repair is a standalone service we offer, but it’s often the follow-up to a cleaning when the camera reveals a disconnected joint or a collapsed run. When the fault is found during inspection, we walk through the repair options and quote them in writing before doing the work. A cleaning that leaves a broken duct in place doesn’t solve the problem. One flat price per system, agreed before work starts.
The Bottom Line
Duct problems in Santa Rosa come down to two categories: dirty and broken. They look similar from the living room, but they need different services. Cleaning fixes dirt. Repair fixes mechanical failures like crushed flex duct, disconnected joints, and undersized returns. Reading the symptoms first saves money and gets you the right service the first time. If you want to know which one you’re dealing with, the answer starts with a pressure test and a camera inspection, not a brush. Call Duct Cleaning Santa Rosa at (855) 929-1609. We answer 24/7. Fast dispatch from 7am to 7pm, Sunday through Friday. One flat price per system, agreed before work starts, with before-and-after photos of your own ducts.
Written by the team at Duct Cleaning Santa Rosa.